Ok now we are getting really close to the beta for our game. Which is tomorrow In fact. And whit this we have to fix the little things that are remaining for our game to be more complete than before. And especially this week I have been working on several things which includes fixing our second enemy’s attack and also the font for our hand held artificial companion (H.A.C).
So first was some bug fixing regarding our second enemy. Our second enemy is a tongue enemy. And that means it fires its tongue towards the player and then it returns towards the alien. And if the player is caught on the tongue he is dragged back whit it. Our Tongue projectile in this case Inherits from our bullet class which have basic code for creating a projectile and getting it to move in a direction. Our tongue projectile worked very simmer ally to this except the returning towards itself part. So our tongue projectile fires towards the player and then the distance between the tongue end and itself. If this distance reaches 500 or above its speed is reversed. The tongues movement is calculated whit speed so if it’s negative it will decrees in its movement direction and return from whence it was shot. Then after this it’s deleted and the tongue can then be fired again if the player is whiten its range.
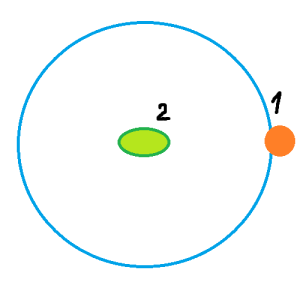
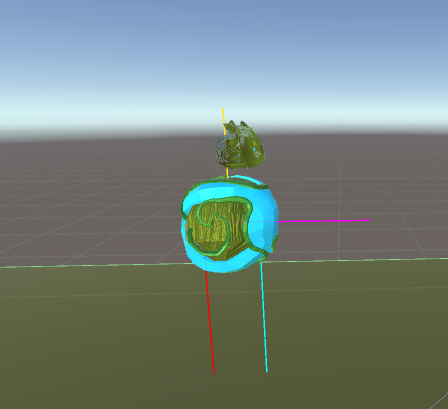
Here is a diagram kind of thing describing the range of the tongue. The orange thing is the player and the green one is the alien. The blue circle is the distance the player needs to be within for the alien to shoot its tongue at the player.
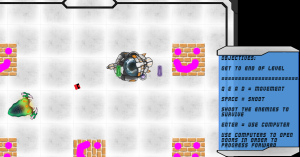
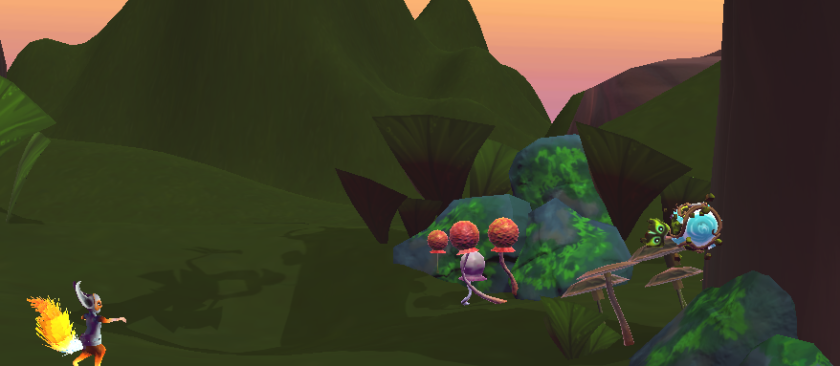
And here’s a picture whit some placeholders. As you can see some of the sprites here will not be in the final game but is just here to show where the will be. The red projectile move towards the player and then it move back toward the alien dragging the player whit it. Right now it only have the red part in the future another more blended sprite will connect between the red one and the alien so it resembles a tongue.
The problem I was having whit this system is that when removing the projectile it also removed the values from the enemy which this projectile belonged to. What caused this was that in the projectile we also have a method that handles this class parent which is the enemy which fired the bullet. And because the parent was a member function we needed to remove it in the deconstructor. And an asterisk in the wrong place ultimately removed the enemy whit the bullet. But it was fixed and it’s working very well now.
We had some problem whit the font we chose not game breaking or of similar kind. But the problem was that it was rather hard to read in the text box which is H.A.C. The font which was first used was called Byte Police (http://www.dafont.com/byte-police.font) and looks like this. And some of the letters looked rather similar which made it hard to read so a new font was chosen. Abduction 2002 (http://www.dafont.com/abduction-2002.font) is the new font and it’s rather thick and easy to read but still kind of sci-fi. And as such it was chosen.

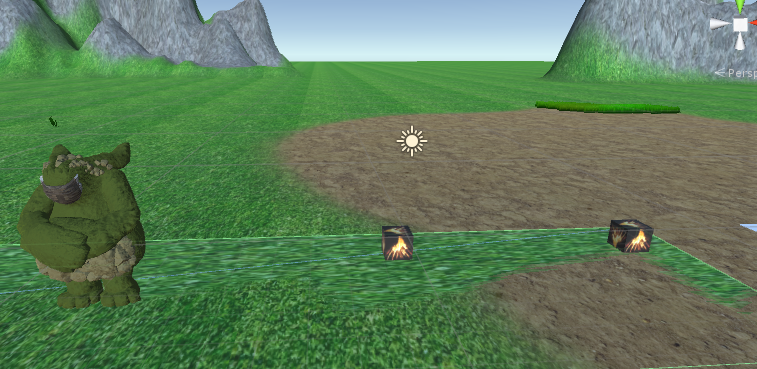 Att first i did not really work on a Ai structure but i ended up writing a state machine when it became complex in its behavior. We will se how much work will be put in this guy for now. Bug fixing what we got seems more important.
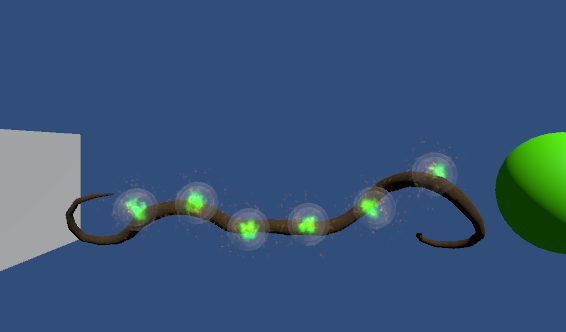
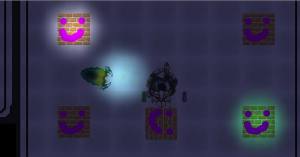
 This is the character and he rays are temporary visible so it can be debugged.